


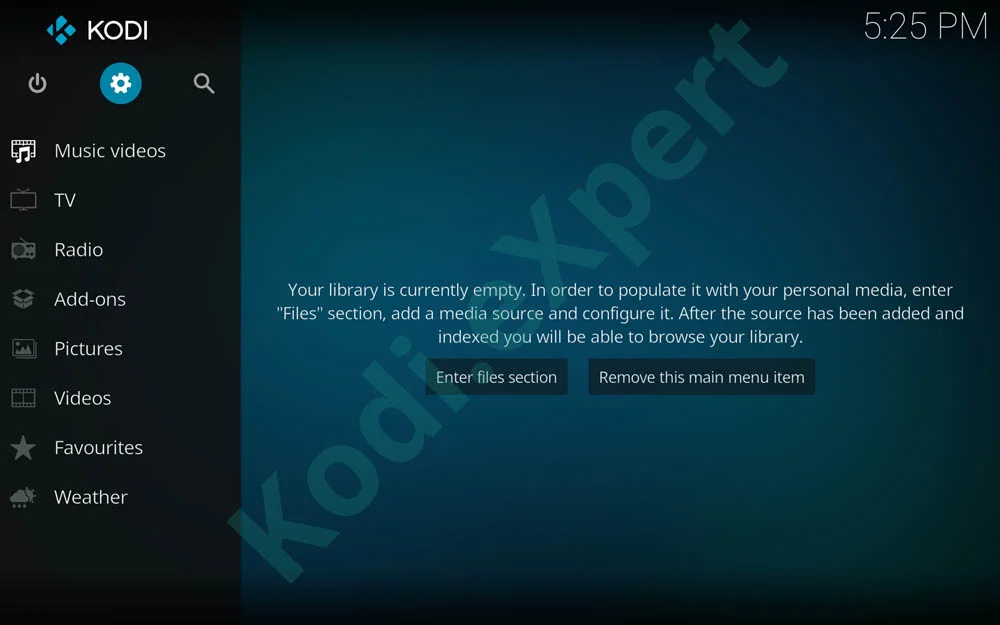
1. Open Kodi on your platform. After a few seconds waiting for completely loading Kodi, you will see the standard main interface (in the images we are using Kodi 17.6. The interface in Kodi 18 Leia is mainly similar so you should follow the same steps). Start by clicking on the SETTINGS button on the top left (it is that cog wheel under Kodi logo).
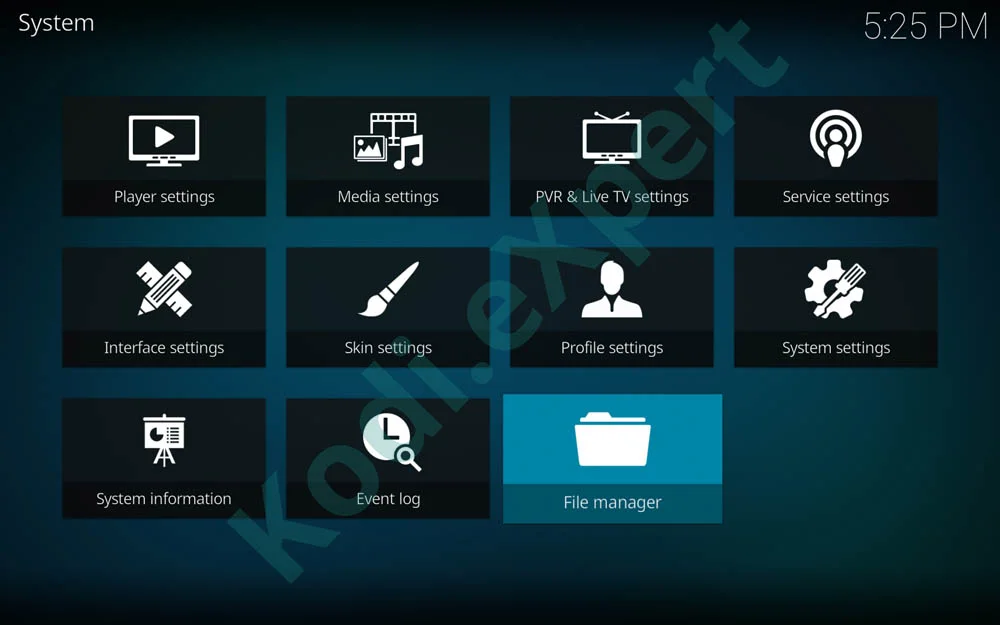
2. Position and Open the Files manager in the bottom right of Kodi -> Settings window.
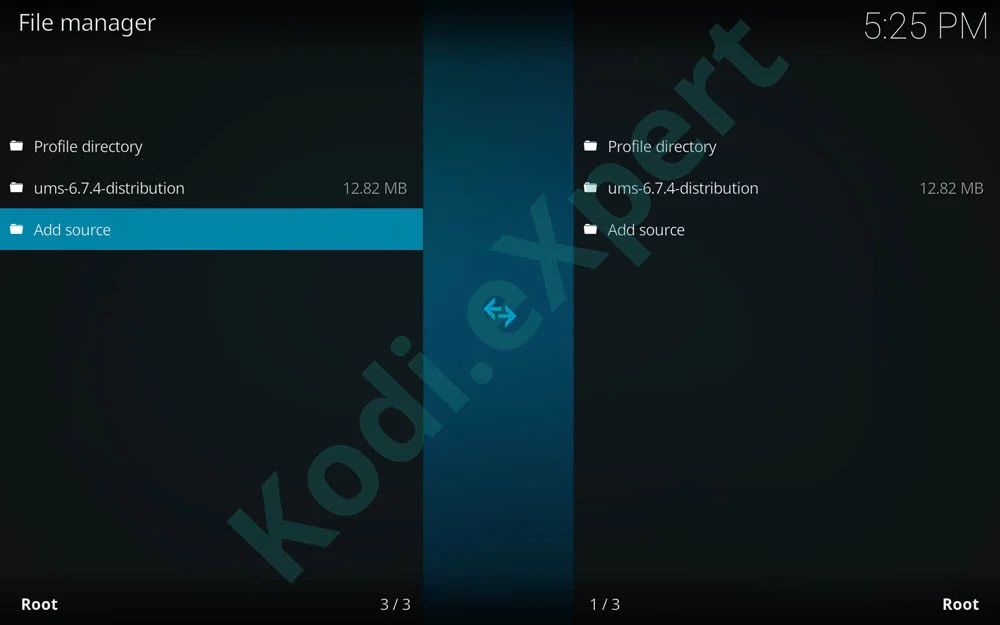
3. You have 2 similar panels here. Tap on Add source on any of them to bring the next window where you will input the source path.
4. With the Add file source dialogue box open, position and click on selection as in the image below.

5. A full screen will appear next, where you will need to input from the keyboard the Overeasy Kodi repository path: http://repo.mreggman.xyz/ with no mistakes. Remember to pay attention to input the correct path letter by letter. If you make any mistake, the path won’t be added and will lead to malfunction in the next steps.
6. In the “Enter a name for this media source” field pick any desired name for the source name. We recommend that you name it Overeasy (for easy identification later). Then press ok. Be careful with the chosen name: that name shouldn’t have been used before.
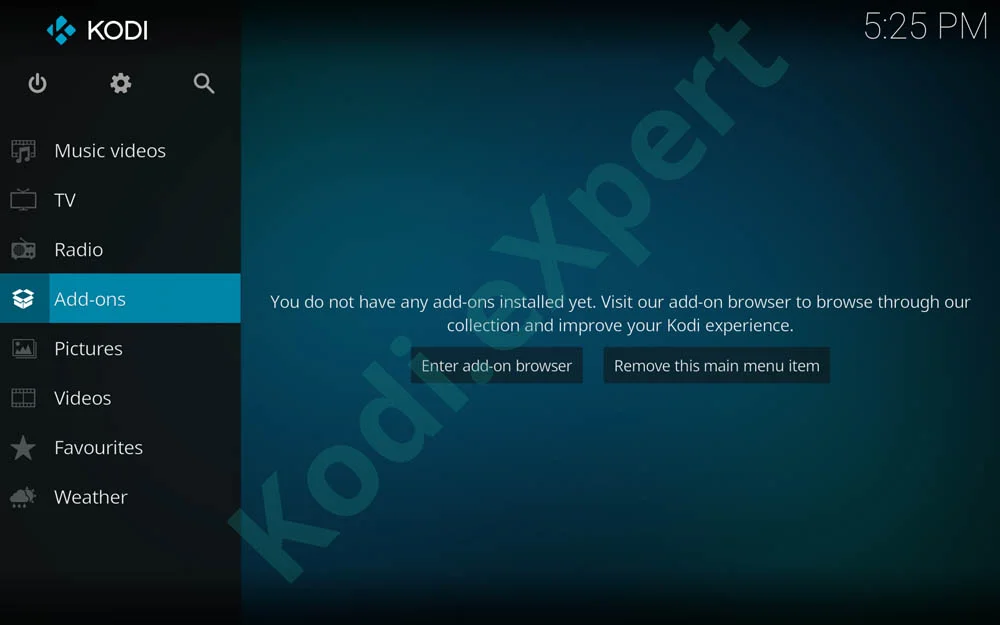
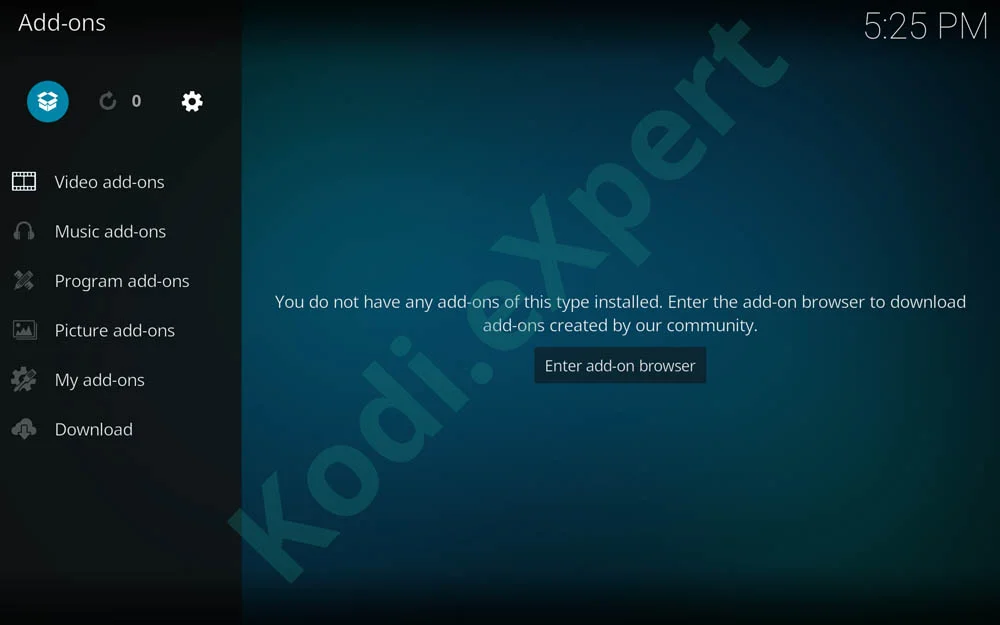
7. Next return to the KODI Main Menu by pressing BACK key multiple times. Now go and click on Add-ons from the left main menu (the one with the open box).
8. On the top left corner, you’ll get 3 new icons. Go to the Open Box (or unzipper, the first icon on the top left screen) and just click on it.
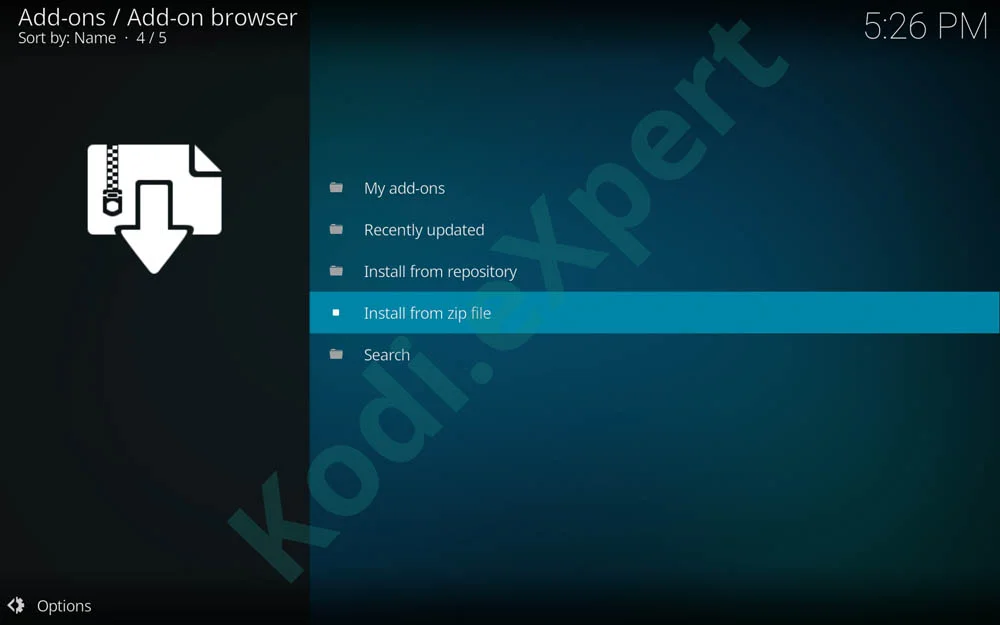
9. Then on the next screen, you will see a list of multiple options. We need to go to the Install from zip file section in order to open the addon source.
10. A new window called Install from zip file opens. You will have a list of local and internet sources. Simply select and click on ‘Overeasy‘ (or whatever name you saved in step 6).
11. Now click on repository.eggman.zip (if the file version is a little bit different you shouldn’t worry. Probably it has been recently updated).
12. Just click on it and press INSTALL and WAIT for the top right notification saying “Eggman Repository Successfully Installed” message.
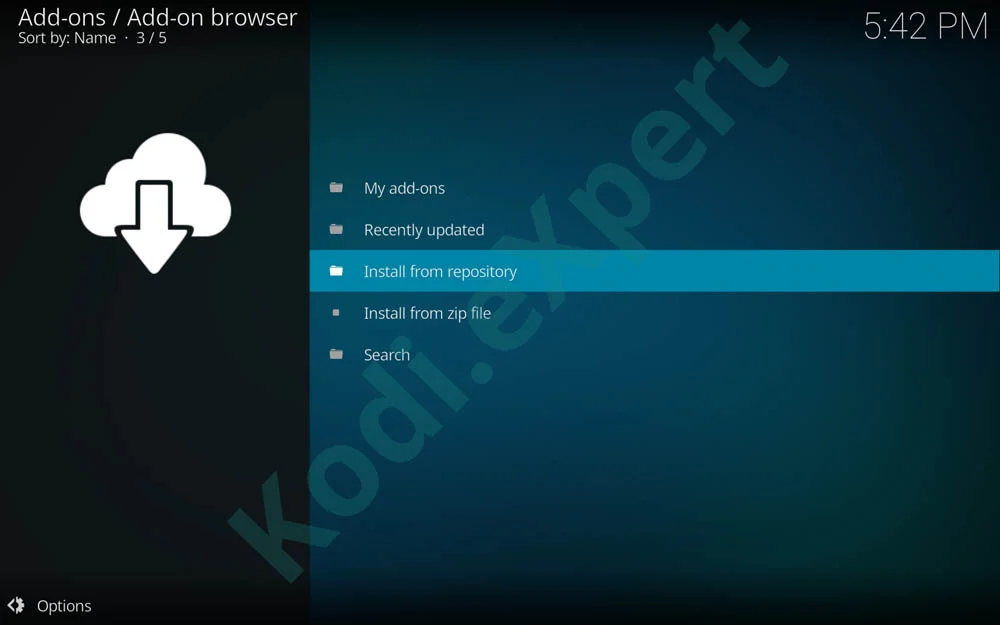
13. If the above step succeeded you will be returned to the previous menu (as in step 8) where you have the add-on browser interface.
14. This time click on the 3rd menu called Install from Repository – see the selection in the image below
15. Go down to “Eggman Repository“
16. Simply choose Program Add-ons
17. Now select Overeasy and choose Install (the cloud icon in the bottom right)
18. To start enjoying your brand new installed Kodi addon go to Video add-on section and locate the Overeasy icon.